You’re a CE App user and want to update your credentials to track your continuing education (CE).
Here’s how you can update (add, change, or remove) a license or credential.
1. Go to your profile
When you sign into your account, you should see an icon in the top right corner. Click on this icon, and you will find an option for ‘Profile Management’. Select this option, and you’ll be on your profile.
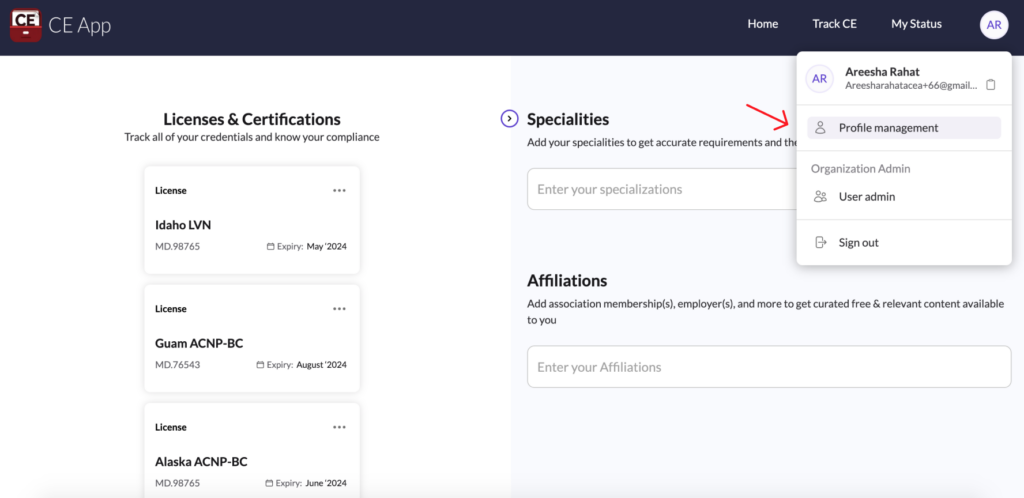
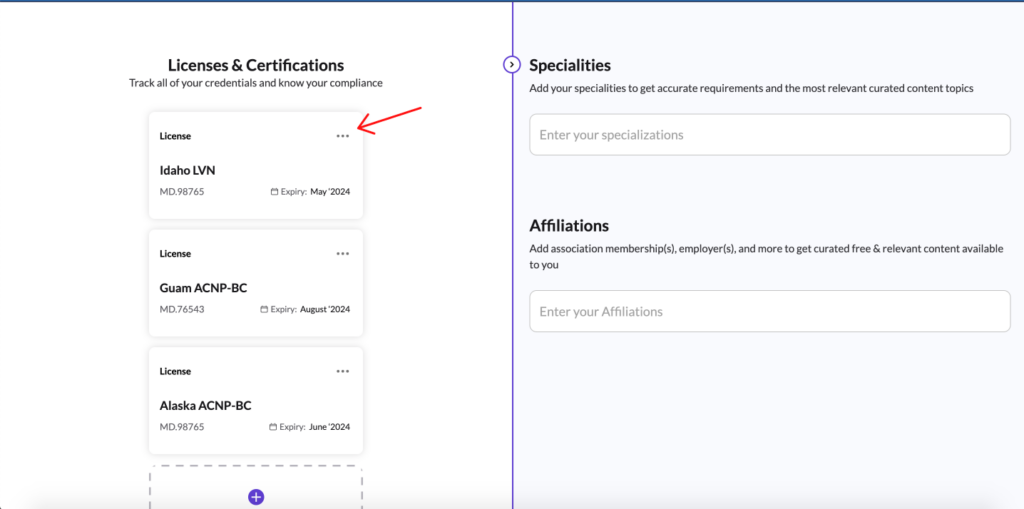
Look for the ‘Licenses & Certifications’ section.
2. Update a saved credential
- To select options, click on the three dots on the credential card.
- To renew a credential or edit the due date, select the appropriate option from the menu that appears.
- To edit details or upload attachments, choose the edit option (indicated by the pencil icon) from the menu.
- To view the status of a credential, select the status option from the menu.
- To delete an old or updated credential, choose the delete option from the menu.
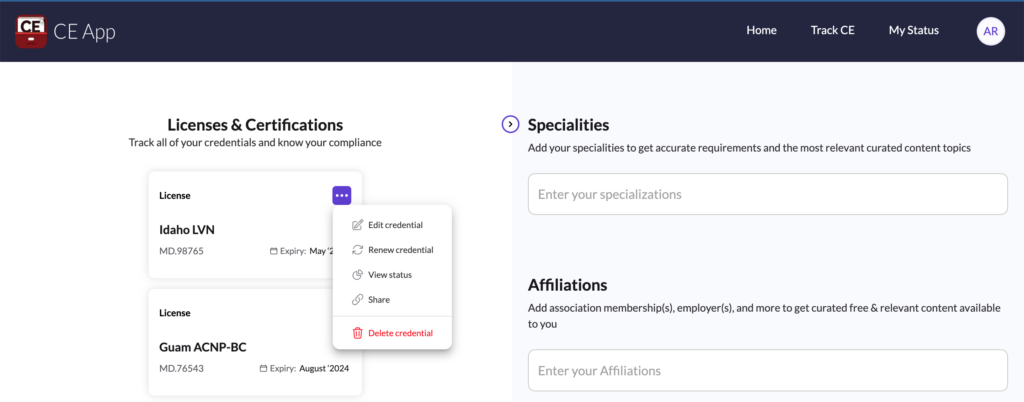
The options will be displayed when you click the three dots.
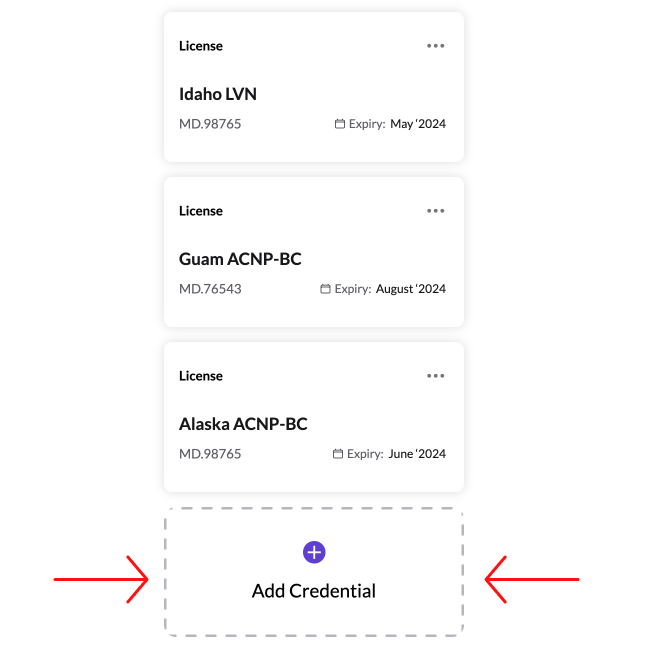
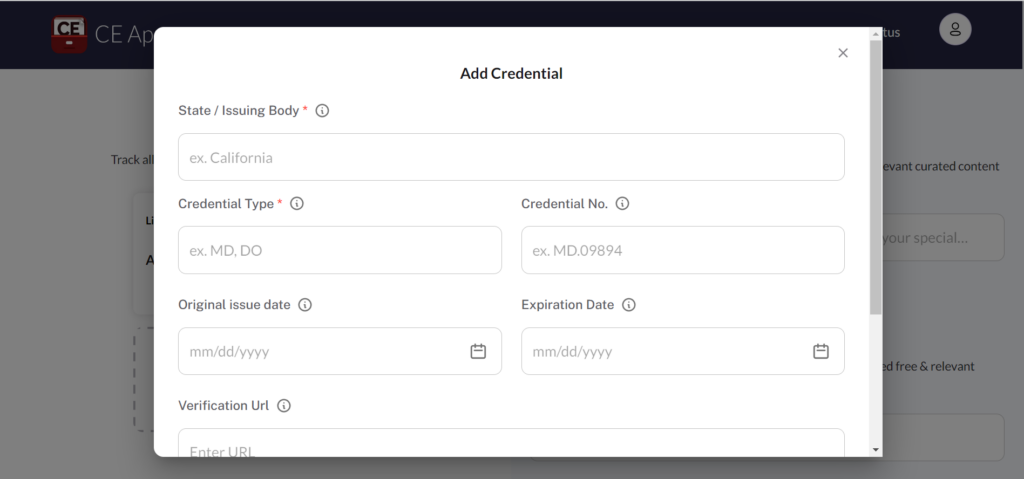
3. Add a license or credential
To add a license or credential, follow these steps:
- State or Issuing Body: Enter the state (e.g., California) or the issuing body (e.g., ABIM).
- Credential Type: Specify the type of credential (e.g., MD or DO).
- Credential Number: Input the credential number.
- Original Issue Date: Enter the date the credential was originally issued.
- Expiration Date: Provide the expiration date of the credential.
- Verification URL: Add the URL for verifying the credential.
- Add Credential: Click the “Add Credential” button to finalize and save the entry.
Then, simply click the “Add Credential” button. You can use this section to also track other types of credentials and not just licenses.
You did it! You’ve added a new license or credential. You’re pretty much a rockstar and we’re not surprised.