
Once you’ve created an account in the CE App to track and manage continuing education, you’ll want to start tracking your past attendance.
NOTE: The CE App website works best in modern browsers such as Chrome, Firefox, or Safari. Outdated/unsupported browsers such as Internet Explorer may have issues with our website which uses more modern, dynamic elements.
Go to the Track CE Page
Click on “Track CE” in the menu (the “CE” language may change depending on your profession).

You’ll then be able to view your list of tracked education here. Click on any course/activity that you’d like to edit as well.
If you have Education Approval activated for your organization, you can also see if your CEs have been approved by your organizational managers.
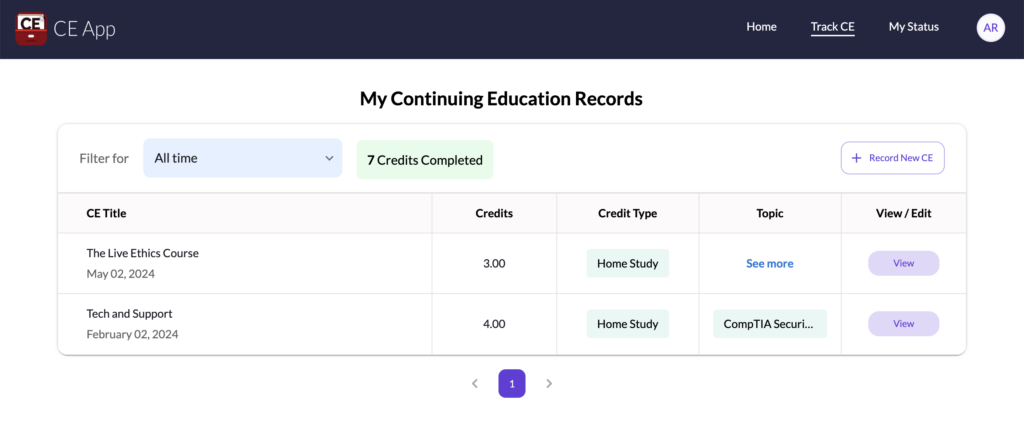
Record New CE
Click on the “+ Record New CE” button to track a new certificate and/or educational details.

Update CE details
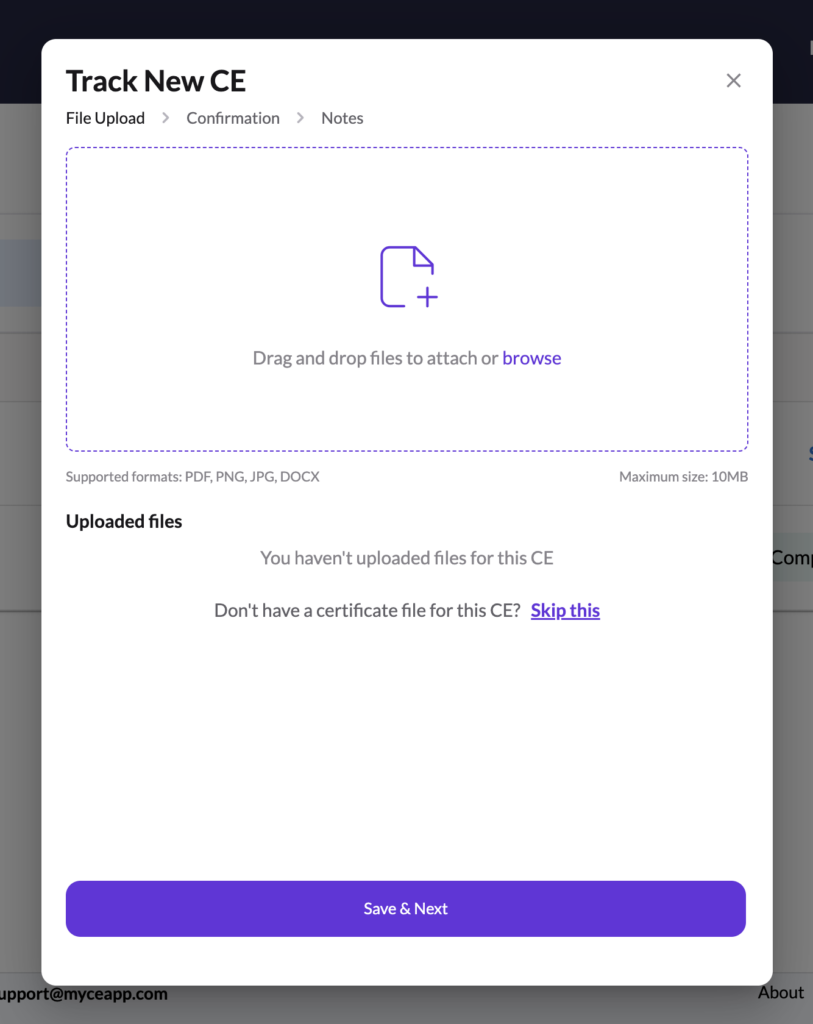
Once you have clicked on “ + Record New CE ”, You will then put in the basic CE info, add more details, and/or upload your certificate.
To update your CE details:
- Upload your CE by either “ Drag and drop ” OR “ Browse your CE file from your computer and upload it”.
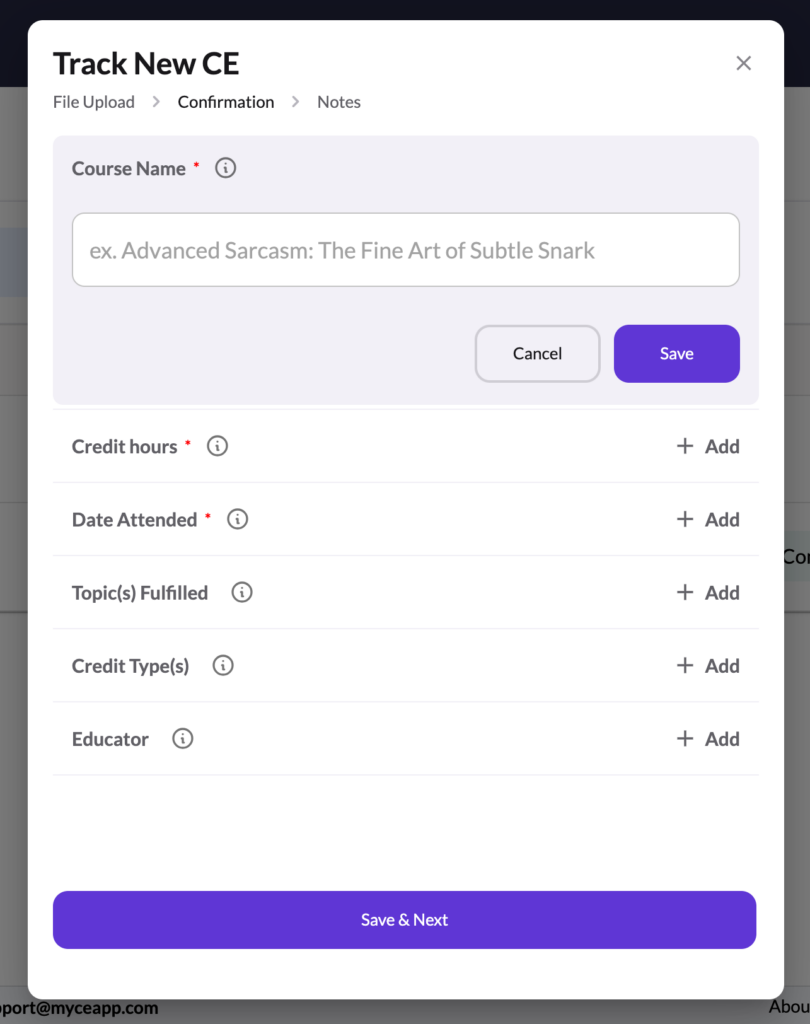
- Add course name (course name will update itself automatically, you can change the name if it is not clear)
- Add number of credits.
- Choose the date of issuance of the certificate.
- Select the credit type.
- Select relevant topics that suit your CE (you can tag as many topics as possible, just make sure they line up with your CE)
- Add the education provider.
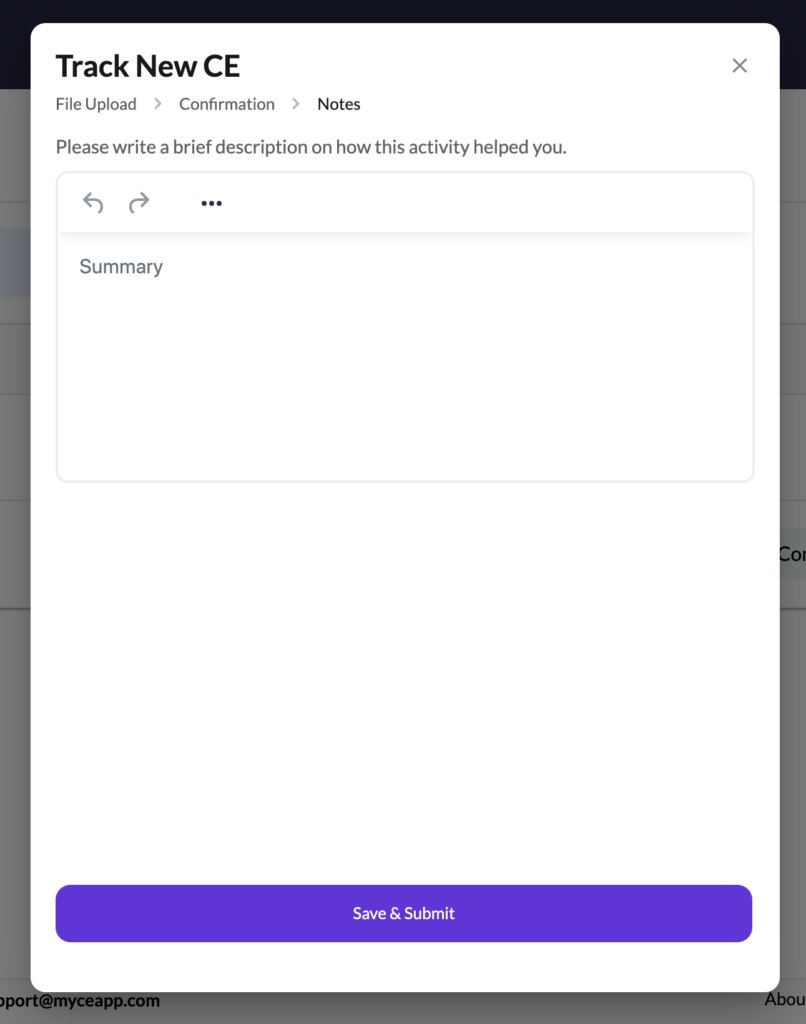
- Add notes or any other relevant information (Optional)
- Then click on the “ Save & Next ” button and then you will see your CE added as the first one in the completed CE’s section.
If you uploaded a certificate and did not include any other details about the CE (such as credits, date, etc.) then you may want to Edit the CE (simply click it from the list and you’ll be able to edit it from there).
As an individual, join CE App Elite (try Elite for free here) to have us track everything for you and save you time – like a personal secretary.
If you are in our Organizational Elite tier with “Track for Me” enabled, you can simply upload a certificate and we’ll fill in the details for you automatically (just allow time for processing – our team reviews these for accuracy).